Thursday 22 November 2012

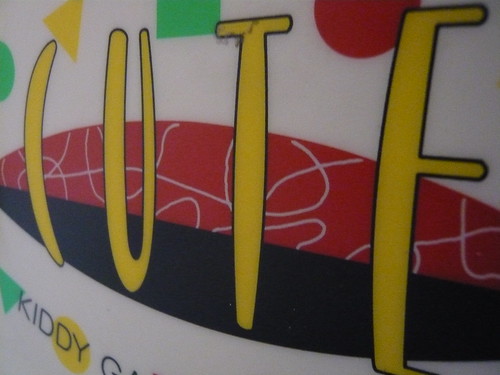
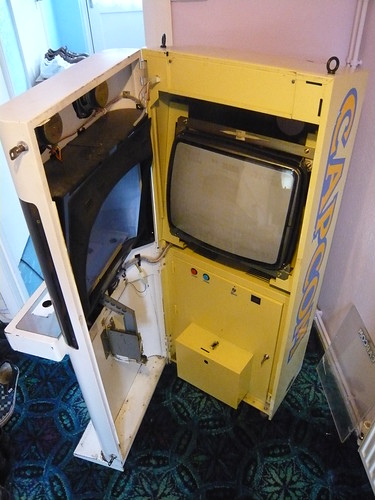
New Arrival – Capcom Mini Cute – Yellow Edition


Here is my latest arcade cabinet – Capcom Mini Cute – Yellow Edition.  I’ve really enjoyed working on arcade cabinets this year and I was looking for a bit of a project – this fits the bill nicely! 


The Good
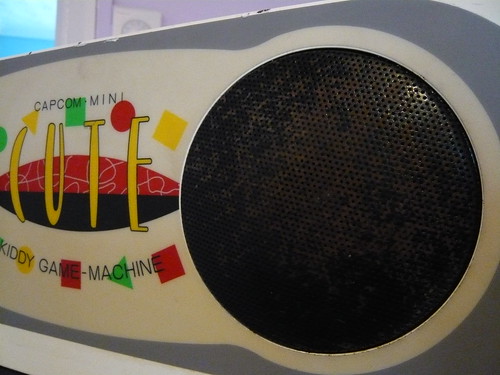
1. It’s a Mini Cute!
2. The cabinet body is in relatively good shape.  There is little rust and no dents or damages.


3. The screen cover is in good condition with no deep scratches.
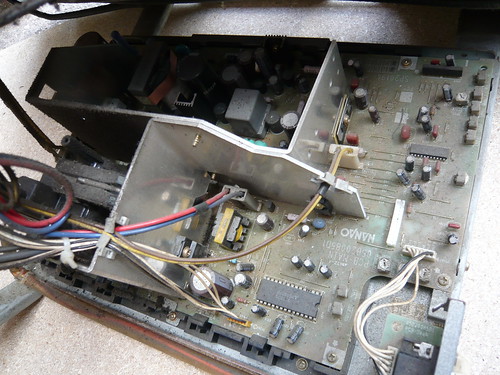
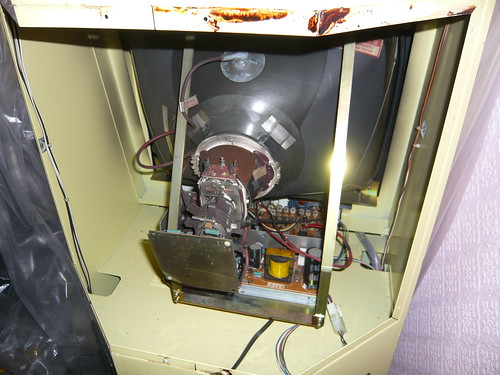
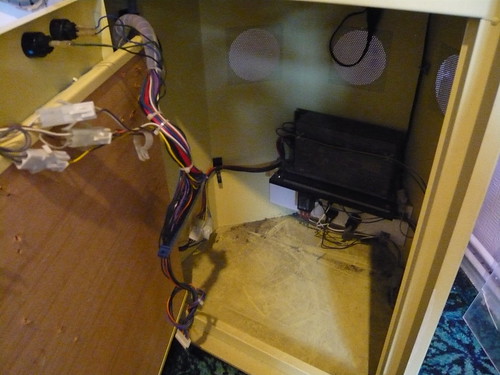
4. All of the wiring is intact and original.


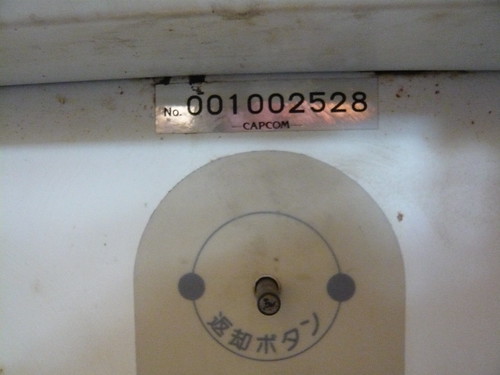
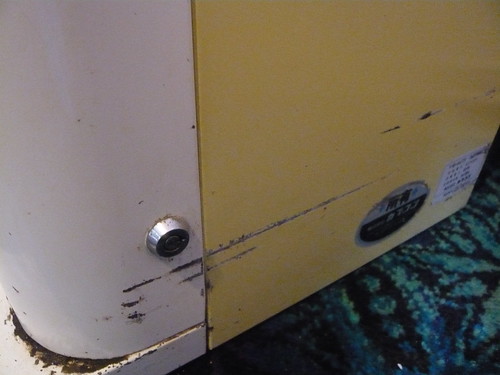
5. The cabinet has a full set of locks and keys.
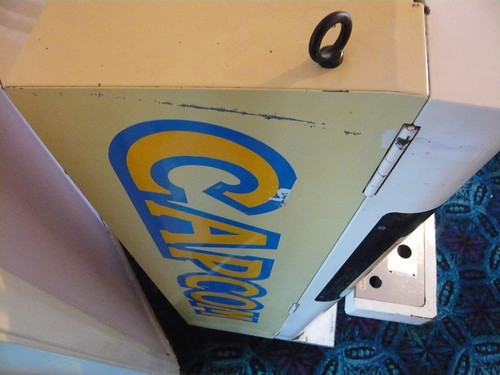
6. The cabinet came complete with an original marquee and also has the two eye bolts.  I’m especially pleased about these as they seem to be missing from most Cutes.

The Bad
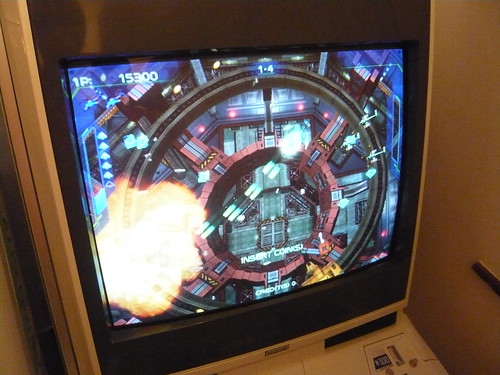
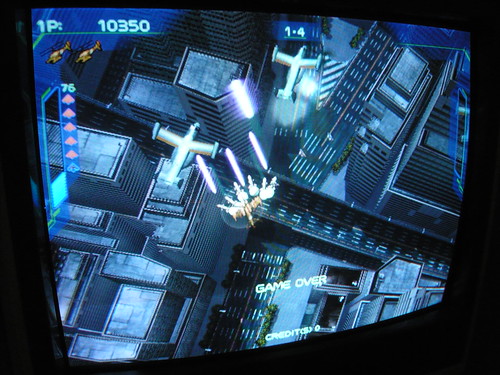
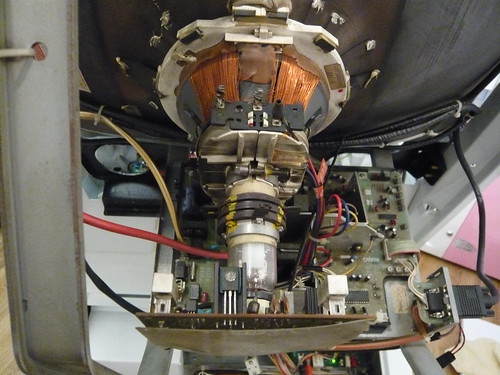
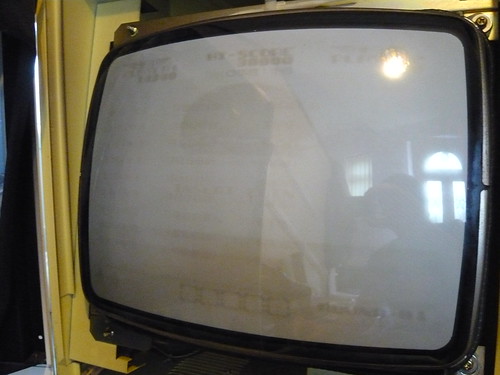
1. The monitor has some serious screen burn from the game Rygar.


2. The stock control panel has been replaced with a home made custom panel.


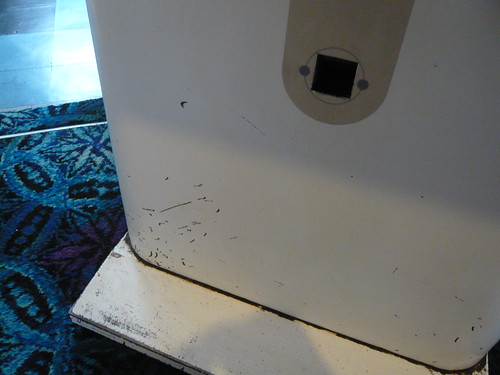
3. The cabinet body paint work has a lot of scratches and is in generally poor condition.


4. The Capcom side art is in poor condition with rips and tears.


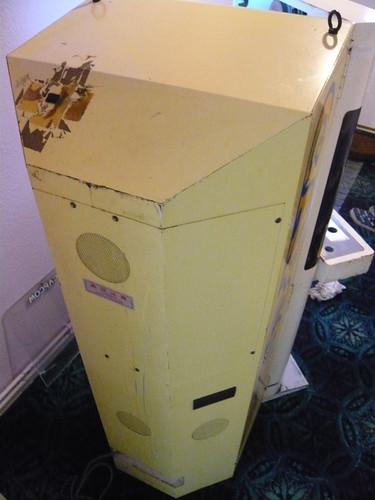
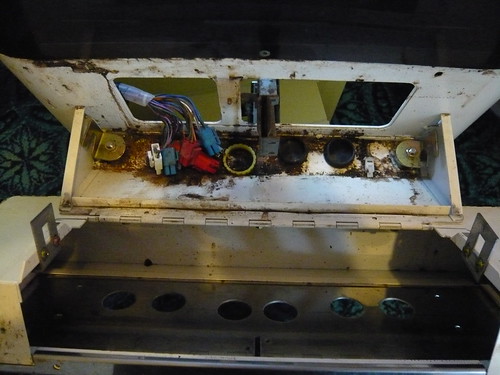
5. The speaker grills are in poor condition.


To Do
1. Re-spray the external shell - cabinet front, control box and body. 
2. Add repro side art.
3. Fit new control panel, complete with new sticks and buttons.
4. Replace missing kick plate rubber.
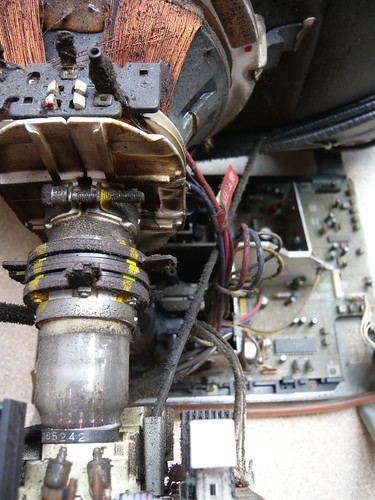
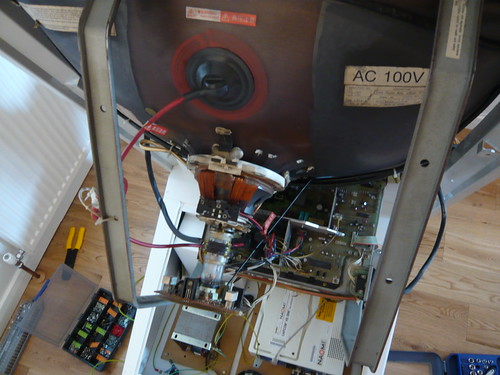
5. Internal clean.  Clean all wiring.
5. Re-spray speaker grills.
6. Clean and polish screen cover and bezel with Novus.
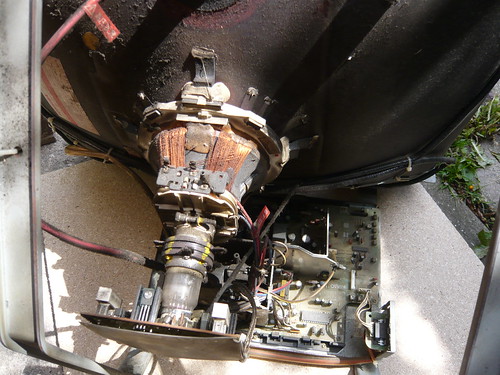
7. Replace monitor.

I plan dismantling the cabinet and taking the parts to local car body shop (the same place that re-sprayed my New Astro City speaker surround).  They should be able to do a perfect colour match.  I already have repro side art and a repro coin entry sticker.  I have a control panel on its way from Japan to replace the custom panel.  If you have any idea what game the custom panel is intended for, please let me know!  Finding a suitable replacement monitor will no doubt be the biggest hurdle.


The cab is very tired and needs a lot of work.  However it should shape up nicely and I’m really looking forward to bringing this old unloved cabinet back to its former glory!


Saturday 17 November 2012

Sega Naomi Sit-Down - New Net City Art – Part 3

 Work Done
1. New Sega Japan official Naomi SD cabinet legs and covers fitted.  New Net City side art applied.
2. Base cleaned, primed and re-sprayed appliance gloss white.
3. New Naomi front assembly fitted, complete with new monitor bezel, inserts, screw cap covers and light cover.


4. New control box upper fitted.
5. Instruction glass cover replaced with a new Japanese one.  The Japan version has a black border.
6. New instruction glass cover brackets and L washers fitted. 
7. New Sega coin reject button fitted.
8. Plastic coin slot replaced with Sega 100 Yen chrome metal coin slot.


9. Rear monitor cover cleaned.
10. All wiring cleaned.
11. New Sanwa sticks, ball tops and push buttons fitted. 
12. Sega extra button looms fitted.
13. New leg hoofs, levellers and end caps fitted.
14. New Net City CP overlay, instruction sheet, coin decal, and emblem added.
15. Coin box door and frame fitted – original missing.
16. New marquee assembly fitted.


17. Missing coin box replaced.
18. Monitor tube and chassis cleaned. 
19. Wooden Naomi mobo / PCB mounting board fitted - original board missing.
20. Earth wiring re-connected inside cabinet legs.  Missing earth wires replaced.

NOS Sega Parts Used
1. Sega Japan official Naomi SD cabinet legs and covers.
2. Instruction cover bracket [NOA-1419] x2
3. Instruction cover bracket L washer [NOA-1420] x4
4. Leg hoof R [NOA-1113]
5. Leg hoof L [NOA-1114]
6. Leg levellers m16x75 [601-5699X] x2
7. Nanao monitor bezel / mask [NOA-1502-01]
8. Naomi leg end cap R [NOA-1003]
9. Naomi leg end cap L [NOA-1004]
10. Naomi light cover [NOA-1503]
11. Sega extra button loom [600-6227-10] x2
12. Sega coin reject button assembly [250-5043]
13. Naomi front assembly [NOA-1501]
14. GCS lid [NOA-1505]
15. VMU lid [NOA-1506] x2
16. Screw cap cover [NOA-1006] x4
17. Control box upper [NOA-1402]
18. Instruction glass cover [HOT-1508]
19. Naomi marquee assembly [NOA-1300]

NOS Cabinet Art Used
1. New Net City 2L12B control panel overlay [NOM-2001]
2. New Net City leg decal R [NOM-1015]
3. New Net City leg decal L [NOM-1008]
4. New Net City instruction sheet [NOM-1409]                      
5. New Net City emblem [NOM-1507]                                   
6. New Net City 100 Yen coin decal [NOM-1412]                 

The Games
The monitor is 31KHz only so I will be using this cab for Naomi, Atomiswave and Taito Type-X systems.

At the moment I’m playing Zero Gunner 2 by Psikyo and I can see that staying in there for a good while!


Many Thanks
Daz / Red5 (Arcade Otaku) for the cab.
Andygeezer for the SD leg kit, NNC side art, Naomi / PCB mounting board, Naomi front assembly, control box upper, instruction glass cover and the marquee assembly.
Craig / Giz10p for monitor bezel, end caps, light cover, coin reject button, NNC instruction sheet, brackets and L washers.
Richy13 (AO) for the chrome coin slot.
Akihabarashop for the buttons and meshball ball tops.
BlingStix / FrancoB (AO) for the Jamma / JVS voltmeter.
Spectre (AO) for the repro marquees. 
And a massive thanks to Paulie (AO) for his excellent Naomi restoration thread and earth wiring connection info.

Sunday 11 November 2012

Sega Naomi Sit-Down - New Net City Art – Part 2

Monitor
The cabinet has a Nanao MS-2932-S 31KHz monitor.  The picture is very nice, the image sharp and there is no visible burn.


Normally I just use an air duster and anti-static brush to give the monitor tube and chassis a light clean, but this monitor was filthy and a more thorough cleaning was required. 


The back of the tube was caked with black arcade dust so I discharged the tube and I used IPA solvent cleaning pads to wipe the grime off.  However these pads contain water so I was careful to avoid the aquadag coating, which is water soluble.  The aquadag coating has a pencil lead appearance, and I just wiped around it.

These are the pads I used:

http://uk.rs-online.com/web/p/precision ... 4E4F4E4526

I also find them useful for cleaning PCB edge connectors.

For the aquadag coating and the monitor chassis I just used an air duster dry air blast cleaner and anti-static brush.

For the cables / wiring I thought the solvent cleaning pads might be a bit harsh so I used some alcohol free anti-static PC cleaner wipes, which are suitable for plastics.

These and similar products are available from most stationary shops:

After cleaning:


Earth Wiring
A couple of earth wires inside the legs weren’t connected to anything and some earth wires were missing.

Facing the front of the cab, the correct arrangement is as follows:

LHS Leg - 2 Earth Wires
1. Leg frame earth point – I/O tray (same position as the CP earth)
2. Leg frame earth point (bottom) – base earth point on the very left hand side, about 20cm into the cab.

RHS Leg - 3 Earth Wires
1. Leg frame earth point – lighting unit frame.
2. Leg frame earth point – monitor frame.
3. Leg frame earth point (bottom) - base earth point at the very rear right, near the transformer.